
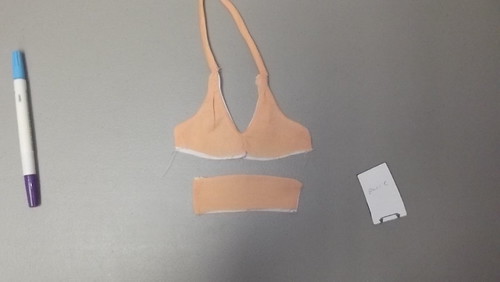
Okay thing you will need.
- soccers ( one set to cut paper and one set to cut cloth )
- pen or pencil ( to make note or make a bigger seam alowens )
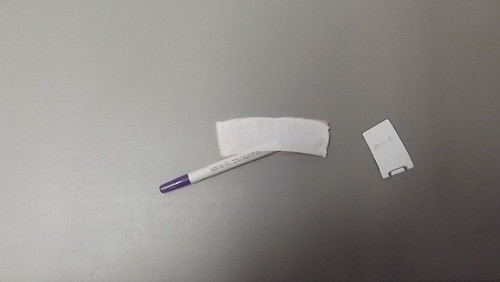
- marking pen or chalk
- fabric ( white is used a a lineing )
- and the pattern. ( you can get it here: http://www.mediafire.com/?zdx3o7e6it54ttr )
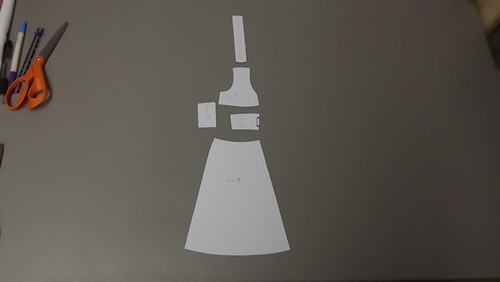
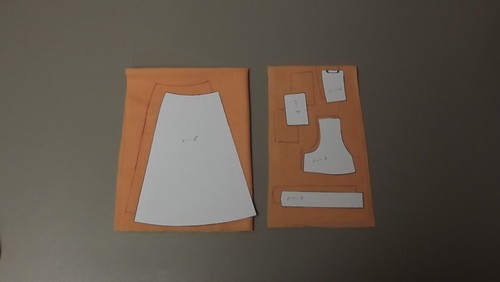
Okay time to cut out parts.
- part A you will need 4 ( 2 of your print and 2 of them in white)
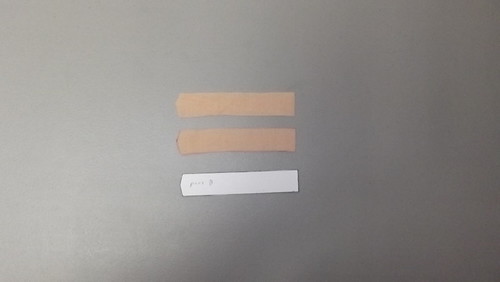
- part B you will need 2 ( I would make them a little longer. Makes it ez to tie.)
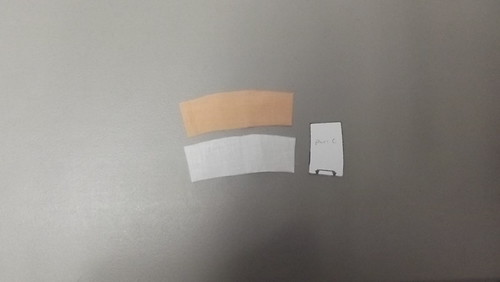
- part C you will need 2 (note: This is placed on the fold.) {one is in your print and the other is in white.}
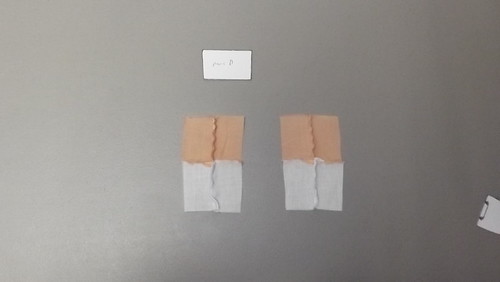
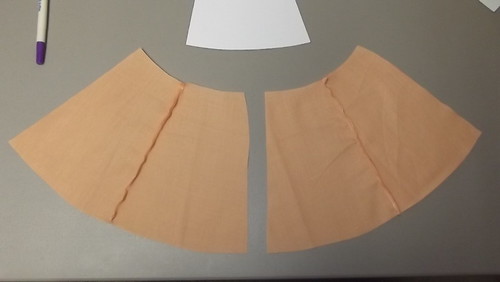
- part D you will need 8 ( 4 in your print and 4 in white )
- part E you will need 4
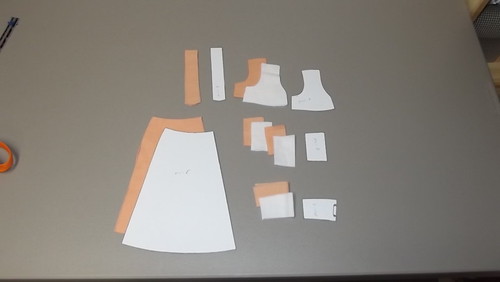
All parts cut out.

Lets start with part A. The good side will be faceing down.
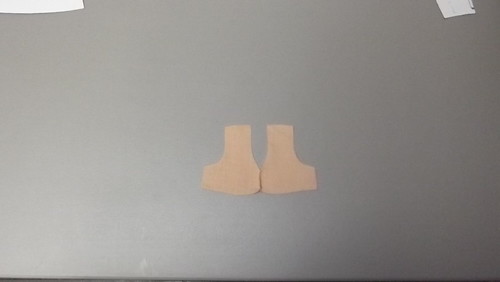
The top is folded in about 1/8 of an inch. You sew down only 1/4 of an inch.
Press and repeat with the white part A's
Now we will work on part B.

Fold in half long ways and sew side and one end ( you are makeing a tub ) Do this to both.
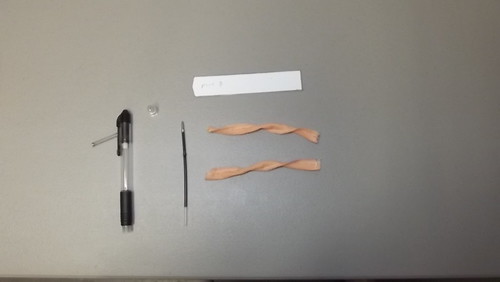
I used the guts of my pen to turn the tubs inside out.

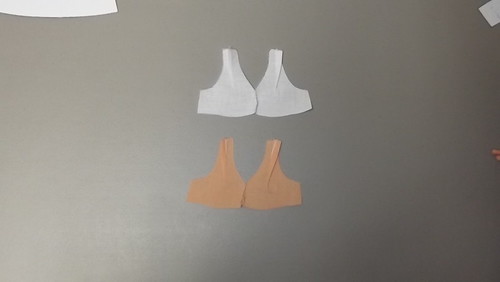
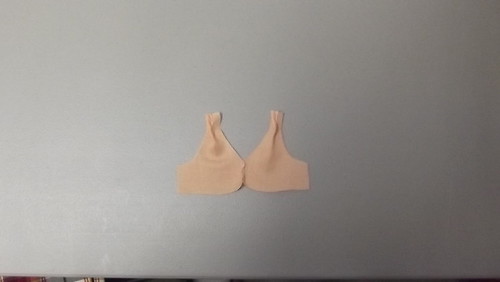
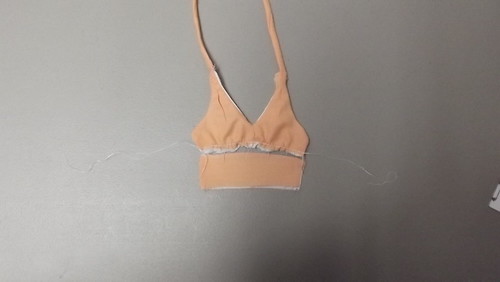
Okay get your part A
Okay you want to put good side to good side with your part A's and part B goes inbetween them. Sew the tops first. That locks the straps ( part B ) in place. Next sew the v-neck. Then sew the top out side curve. ( note : you can not sew the strap to the sides. This can be kind of hard. Just go slowly.)
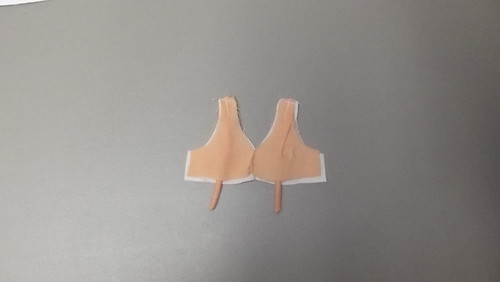
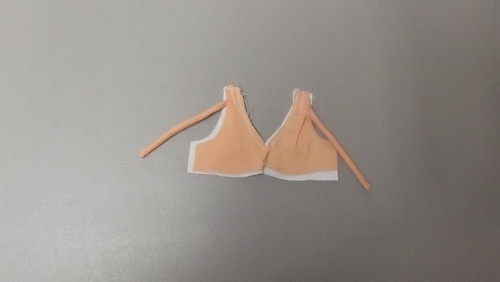
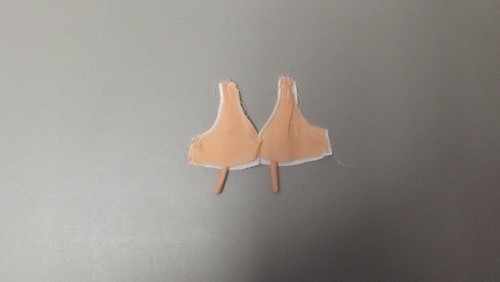
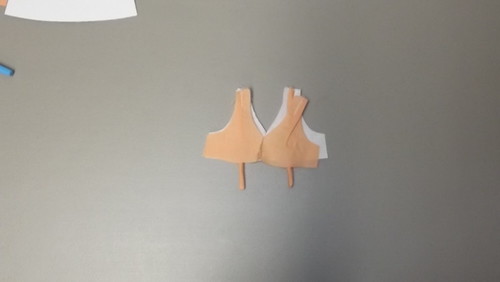
Turn inside out and press.
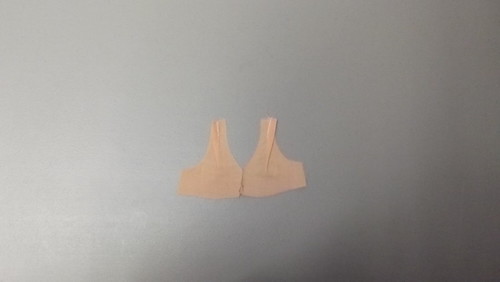
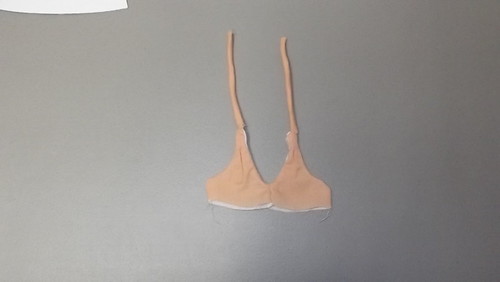
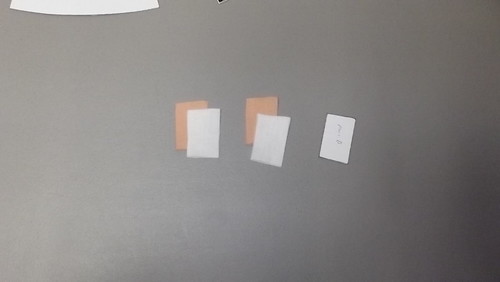
On to part C
Sew the side top side together. Good side to good side. Then turn it inside out.
Your going to do a gathering stich on the part A opening. Gather to make it the same lenth as part C.

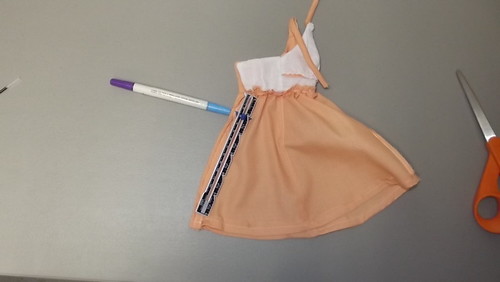
The marking pen is showing where the opening in part C is.

You can now remove the gathering stich if you like.
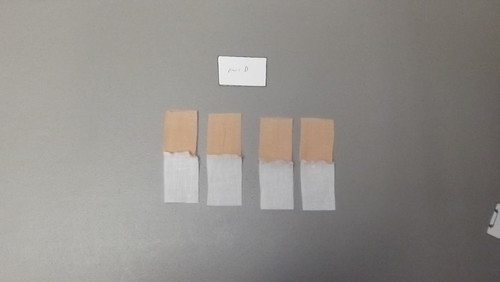
On to part D. Good sides are faceing down.

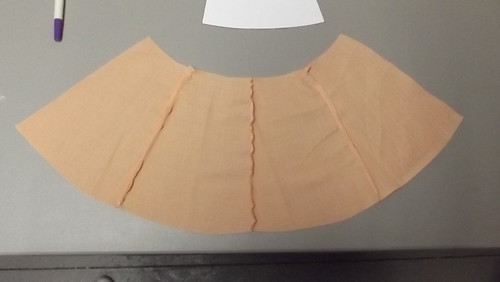
Okay this looks hard to do but it is ez when you under stand what you need to do. Start by turning everything good side up. Place your part C under the top as showen in the photo.
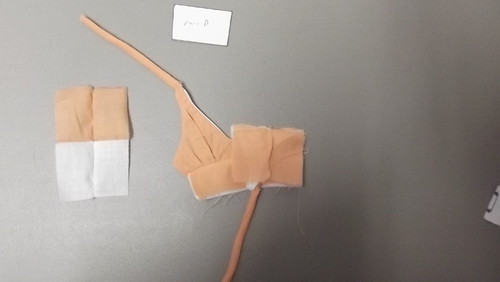
Next fold it over the top part. You should be looking a the bad side of part C now. Sew the edge..
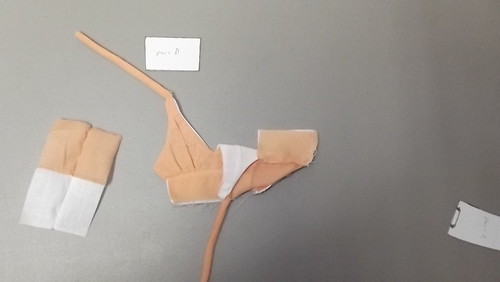
Now turn it inside out.

Should look something like this. and repeat on the other side as well.
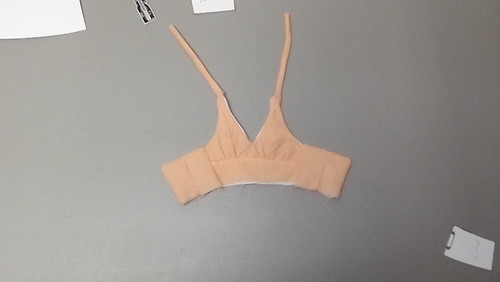
Once you get to this point take a small brake. The rest is down hill.

Part E
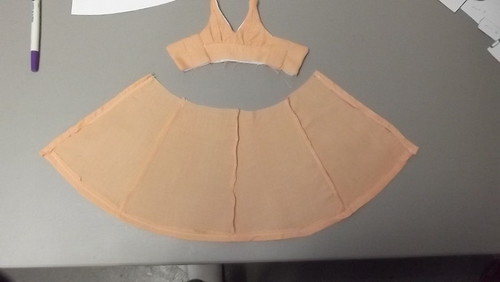
Now is a good time to hem the edges. You are going to need to make a gather stich at the top. Gather it so it is the same lenth as the top.
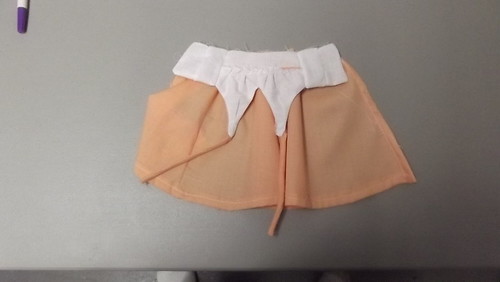
Good side to good side sew them together.
Now turn it inside out. Start at the bottom and sew up to where the makeing pen is pointing. it is 1 inch from the seam. ( note: you may want to make this a bit bigger. It can get hard to pull the dress up over the hips on the DDdy and the DD if she has on her pantiys.)
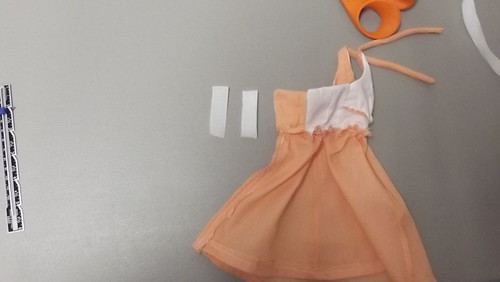
Add velcrow.

Turn it right side out and your ready to try it on.

Todays model is going to be Jenny.
Me: Hello Jenny I have an outfit for you to try on do you mind.
Jenny: No I dont mind at all. Ill be happy to try it on for you.
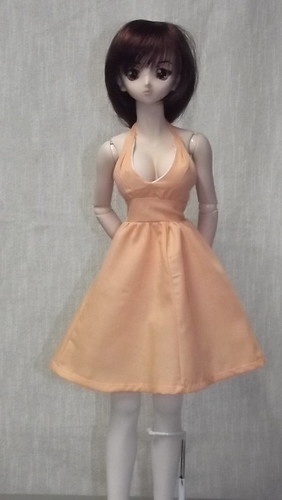
Jenny: Well how does it look.
Me: You look very nice. Can I see what the back looks like.
Jenny: Thats not a problem.
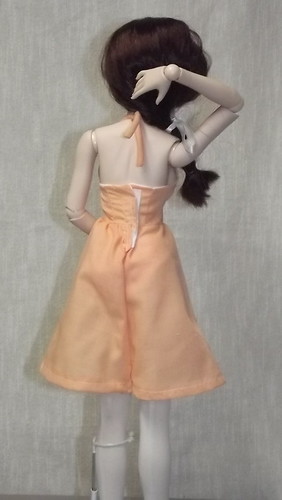
Me: That loos good. How does it fit?
Jenny: Its a little snug on my tumey.
Me: Ok Ill fix that for you.
Jenny: Other then that it fits just fine.
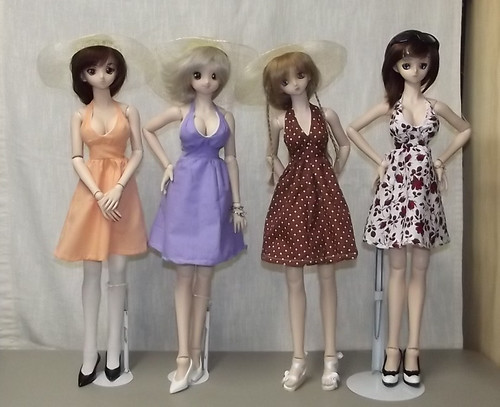
Here is what it looks like on other dolls and defrent colors.
I hope everyone has fun makeing this dress. I you have any problems or just want to say thanks please leave a comment.
My first attempt didn't work out- seems that I printed the bust parts at the wrong size. It might fit my MDD, though! I'll try again and see if I can figure out what went wrong.
ReplyDeleteThe seam allowance is very small. Makeing the pattern bigger will help with that.
Delete